Since diamonds are made of the hardest material in the world, only a diamond can be used to mechanically cut another diamond. Lasers are another alternative but their uses are largely limited to the cleaving and bruting purposes. Usually, the tools used in the workshop consist of diamond-bladed edges or discs that are lined in diamond dust.
The actual process of how diamonds are cut and polished can be broken down into five steps: planning, cleaving, bruting, polishing and inspecting.

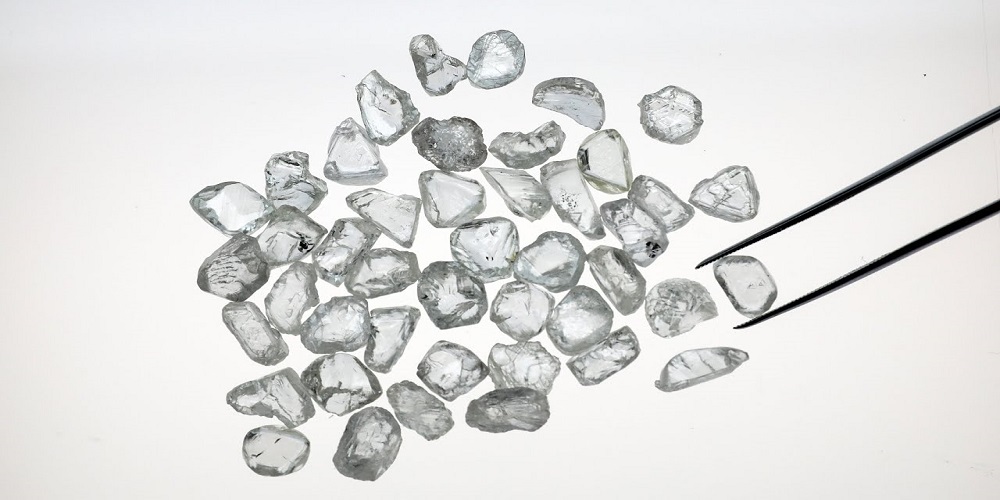
Planning to cut a rough stone is one of the most important things to get right. While it can be a time consuming process, this is also the step that determines the final value of the finished products.
In the planning stages, the cutter will figure out the best possible shapes of the diamond in order to minimize waste and maximize the yield of the rough stone. Typically, the rough stone is mapped with a Sarin machine to generate accurate measurements.
With this data, a computer software is then used to formulate 3D models that will show the cutter the best ways to optimize the rough.
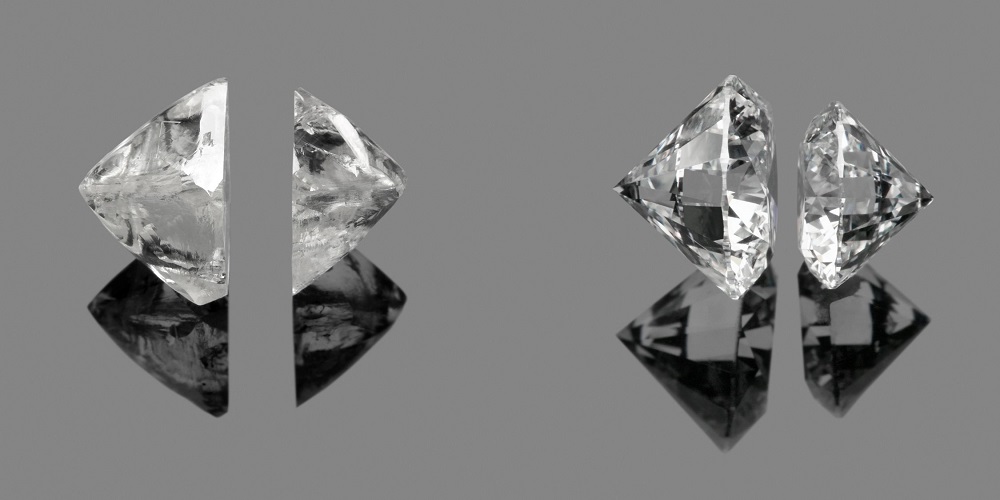
The cleaving process is the part that involves splitting the rough into separate pieces. This will then allow the cutter to work on the pieces separately and also to utilize the rough fully.
Mechanical sawing can also be undertaken at this stage. In the case of oddly shaped roughs, the sawing process can also be undertaken with contactless cutting tools like lasers.

Copper disc embedded with diamond dust sawing a rough diamond.

Mechanical bruiting to form the outline of the polished diamond.
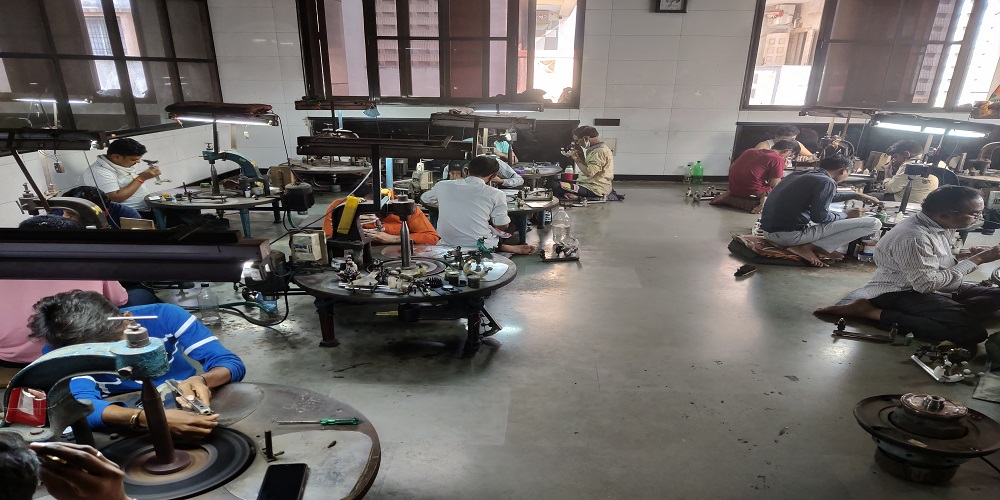
After the diamond is split, bruting is then performed to make the separated rough stones round. This is process is also known as girdling. What happens here is that two diamonds are placed on a spinning axle across each other.
They will then turn in opposite directions and grind against each other to create a rough girdle finish.
Once the rounded shape of the rough is formed, the next stage is to create and form the facets of the diamond. The cutter places the rough on a rotating arm and uses a spinning wheel to polish the rough. This creates the smooth and reflective facets on the diamond.
Interestingly, this polishing procedure is further divided into 2 steps: blocking and brillianteering.
In the blocking process, 8 pavilion mains, 8 crowns, 1 culet and 1 table facet are added to make a single cut stone. The importance of this step is to create a template for the next stage.
The brillianteer will then finish up the job by adding in the remaining facets and bringing it to a total of 57 facets. He holds great responsibility as the fire and brilliance of the diamond is determined at this stage.

A rough diamond being facetted on a polishing wheel.

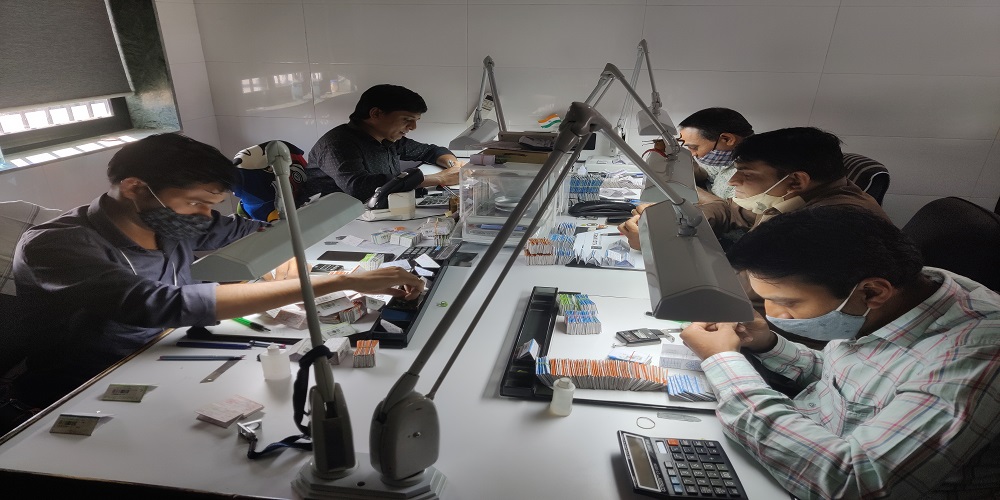
The last stage is the inspection process. This is where the diamond is checked to make sure it meets the specifications set out by the manufacturer.
If need be, the stone would be sent back to the polishers for some touching up if it didn’t meet the quality control standards.
Copyright © 2021 Yug Global Pvt. Ltd. All Right Reserved.